Stick on Whiteboards
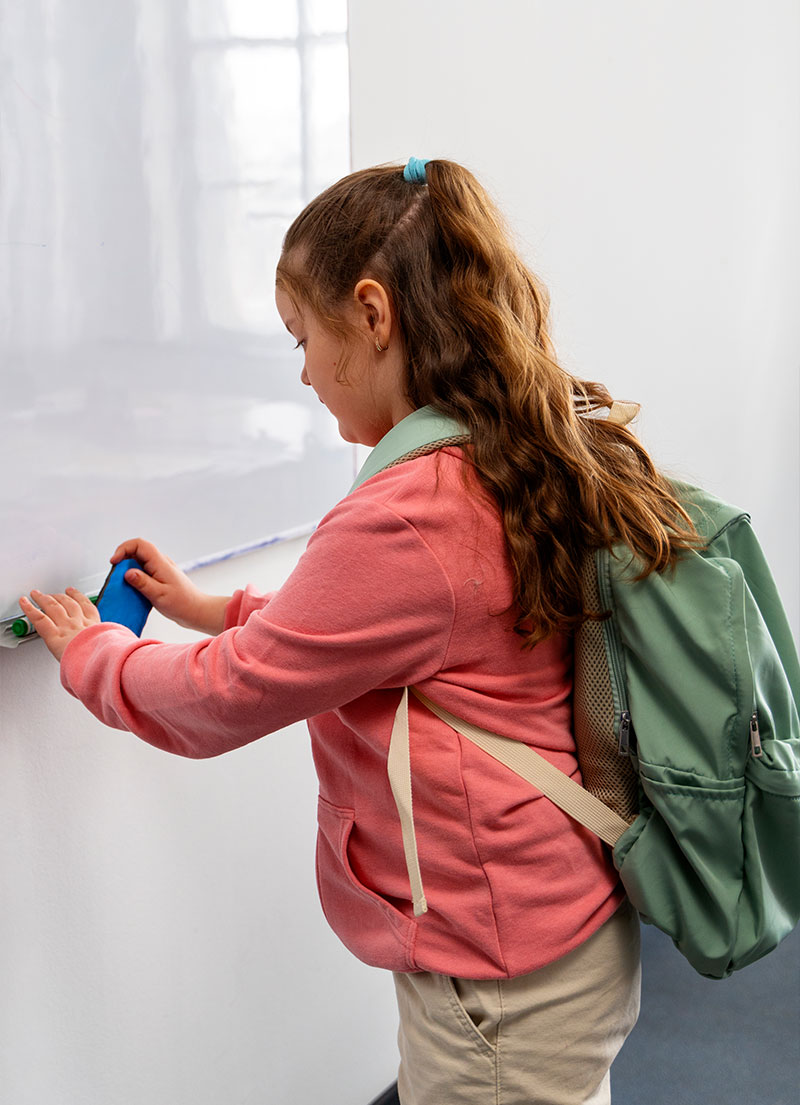
Have you ever found yourself wishing you had an extra bit of space to jot down ideas, plan your week, or help your kids with their homework? Well, stick on whiteboards might just be the solution you’ve been looking for! Let’s dive into what makes these nifty tools so popular and how they can transform any surface into a hub of creativity and organisation.
Discovering the Power of Magnetic Whiteboard Sheets
Meet Julia, a busy mum and freelance graphic designer. Julia’s life is a whirlwind of client meetings, school runs, and family activities. She struggled with staying organised and found that traditional whiteboards were either too bulky or too expensive. One day, while browsing for affordable solutions online, she stumbled upon stick on whiteboards and decided to give them a try.
Discovering the Perfect Solution
Stick on whiteboards are essentially self-adhesive whiteboard sheets that you can stick to almost any flat surface – walls, doors, glass, you name it! Julia was intrigued by the idea of turning her unused wall space into a productive area without the need for drills or spending a fortune.
Features and Benefits of Stick on Whiteboards
Stick on whiteboards come with a range of features that make them an ideal choice for various settings:
- Self-Adhesive Backing: Easy to install and remove without damaging the surface.
- Customisation: Can be cut to any size to fit your specific needs.
- Portability: Easy to move around if you need to change its location.
- Versatility: Works on multiple surfaces like walls, glass, and doors.
The benefits are clear. They are not only cost-effective but also incredibly easy to install. Julia found that these whiteboards transformed her home office into a more organised and inspiring workspace. She could easily jot down her to-do lists, brainstorm ideas for her projects, and even create a fun chore chart for her kids.
Julia’s Journey: From Chaos to Order
Julia decided to stick her new whiteboard on the glass door of her home office. The installation was a breeze – she simply cleaned the surface, peeled off the backing, and smoothed the whiteboard onto the door. Instantly, she had a clean, writable surface that didn’t take up any additional space.
The impact was immediate. Julia’s productivity skyrocketed as she could now visualise her tasks and plans. Her kids loved the new chore chart, and it became a fun family activity to update it together. Julia also discovered an unexpected benefit – the stick on whiteboard was great for her online client meetings. She could quickly sketch ideas and share them in real-time, making her presentations more interactive.
Tips and Recommendations for Stick on Whiteboards
If Julia’s experience has piqued your interest, here are some practical tips to help you choose and install your stick on whiteboard:
- Size Matters: Consider the size you need and whether you’ll be cutting it to fit a specific area.
- Adhesive Strength: Make sure the adhesive is strong enough for your chosen surface but gentle enough to remove without damage.
- Surface Compatibility: Ensure the surface is clean, dry, and smooth for the best adhesion.
Installation Tips:
- Prepare the Surface: Clean the area thoroughly to remove dust and grease.
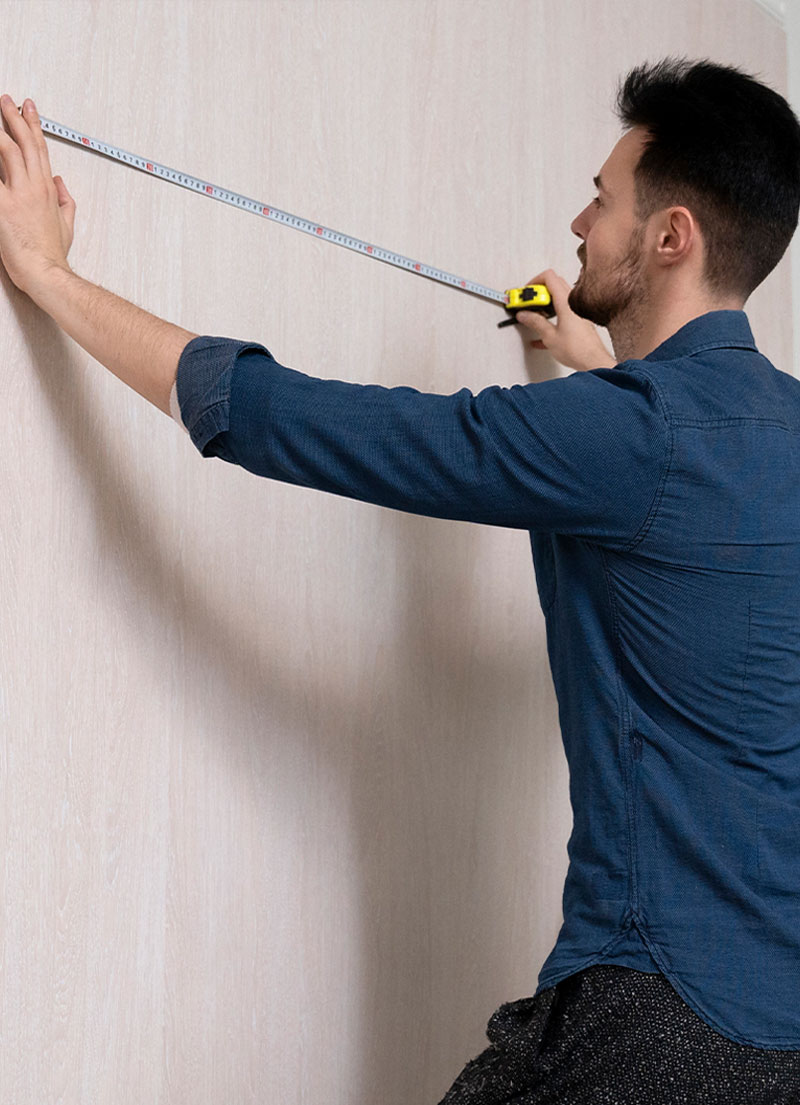
- Measure and Cut: Measure the desired area and cut the whiteboard sheet to size.
- Peel and Stick: Peel off the backing and carefully apply the whiteboard, smoothing out any bubbles as you go.


